Installing/VirtualBox
From GalliumOS Wiki
Contents
Installing in VirtualBox
Installation in VirtualBox is simple, but requires some special settings in initial VM setup to make sure that the hardware provided to the OS matches that which might exist in ChromeOS devices.
The first step is to download an installation ISO, available from the Gallium OS download site. The best option is to choose the Sandy / Ivy Bridge ISO, although some others may work.
Set up VirtualBox VM Profile
Basic Setup
- Select New from your VirtualBox UI toolbar
- If you see an Expert Mode button at the bottom of the window, click that now
- Set the name of your VM to anything you want
- Change the Type to Linux
- Change the Version to Linux 2.6 / 3.x / 4.x (64-bit) (These options may change in the future - use the similarly generic option)
- Set the Memory size to anything 1024 MB and above, as required for your development needs
- Select Create a virtual hard disk now, which should be the default
- Click the Create button
- The default settings of VDI and 8GB are fine for disk file location and settings
- Click Create button again
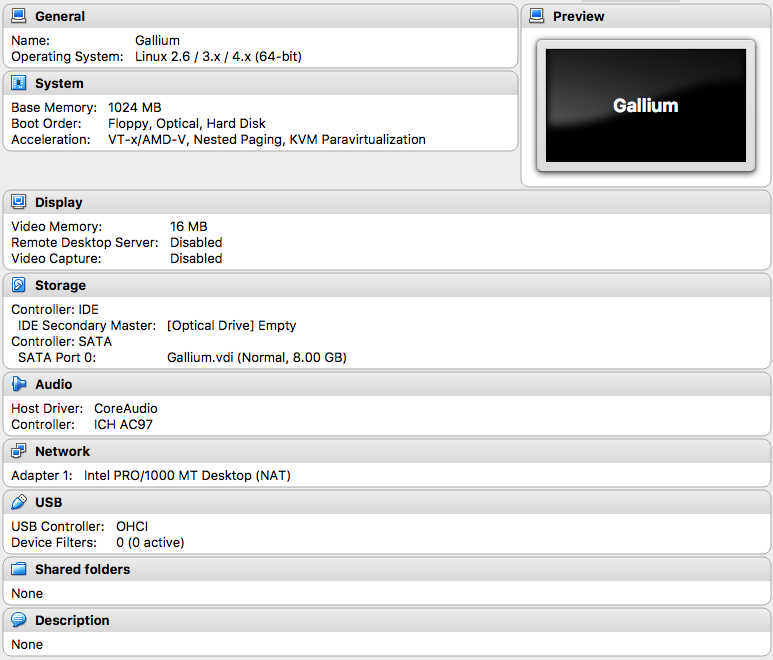
You should now have a profile that looks something like the image below:
Profile Tweaks
There are two important changes to make - one of which will prevent Gallium from installing, and the other will prevent it from working once you have installed.
